Anglicus
An access hatch is a panel, door, or opening built into floors, ceilings, walls, or roofs that provides entry to concealed spaces — such as crawl spaces, attic voids, mechanical chases, or utility areas — without the need to demolish surrounding structures. The right access hatch saves hours of costly maintenance work and is legally required in many building codes for concealed mechanical and electrical systems. This guide covers every major type, the standards that govern them, how to select the correct hatch for your application, and best practices for installation and maintenance.
Access hatches serve as the gateway between occupied spaces and hidden infrastructure. Plumbing shut-off valves, electrical junction boxes, HVAC ductwork, and structural inspection points all rely on hatches for routine servicing. Without them, every maintenance call risks tearing open finished surfaces — adding repair costs that quickly exceed the original hatch price by a factor of five or more.
Beyond convenience, access hatches fulfill critical safety and code functions:
In commercial buildings, failure to provide compliant access hatches can result in failed inspections, project delays, and substantial fines — sometimes exceeding $10,000 per violation in jurisdictions with strict enforcement.
Access hatches are categorized primarily by their mounting location and the performance requirements of that environment. Understanding these categories is the starting point for every specification decision.
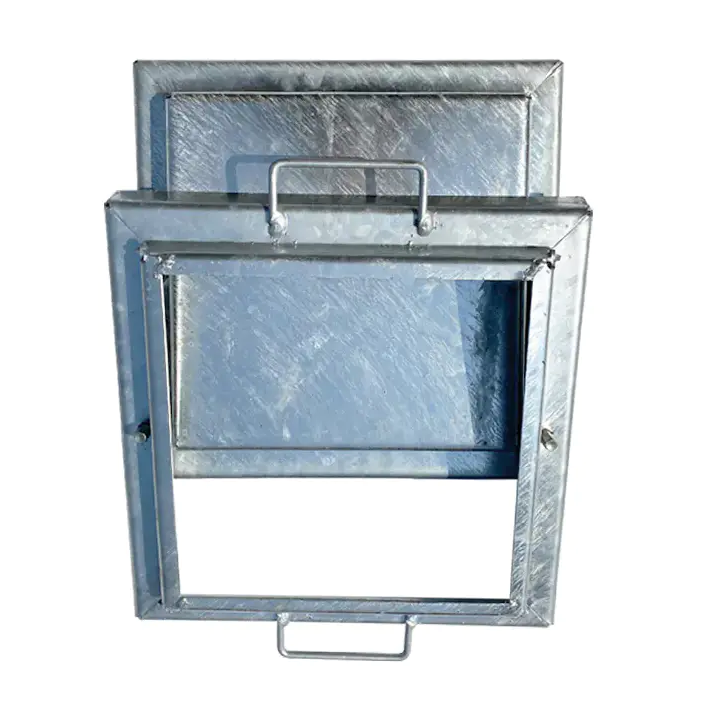
Floor hatches are designed to withstand foot traffic and, in industrial settings, forklift loads. They are manufactured with recessed covers so they sit flush with the surrounding surface. Common frame materials include hot-dipped galvanized steel (for outdoor or wet areas) and aluminum (for weight-sensitive applications). A standard single-leaf floor hatch for a commercial building typically measures 24 × 24 inches, though custom sizes up to 96 × 96 inches are available for large equipment access.
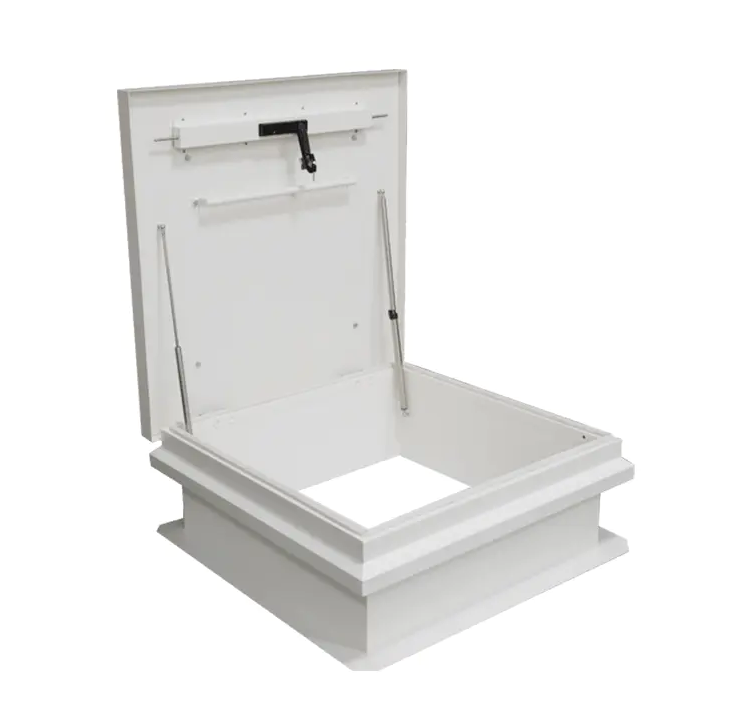
Roof hatches provide safe, weatherproof access to rooftops for HVAC maintenance, antenna servicing, and emergency egress. They must be watertight, thermally broken to prevent condensation, and strong enough to resist wind uplift. ANSI/SPRI WH-1 is the industry standard for wind uplift resistance on rooftop hatches. A well-specified roof hatch includes a compression spring-assist mechanism — most models hold the door open at 75° with a hold-open arm rated for winds up to 50 mph.
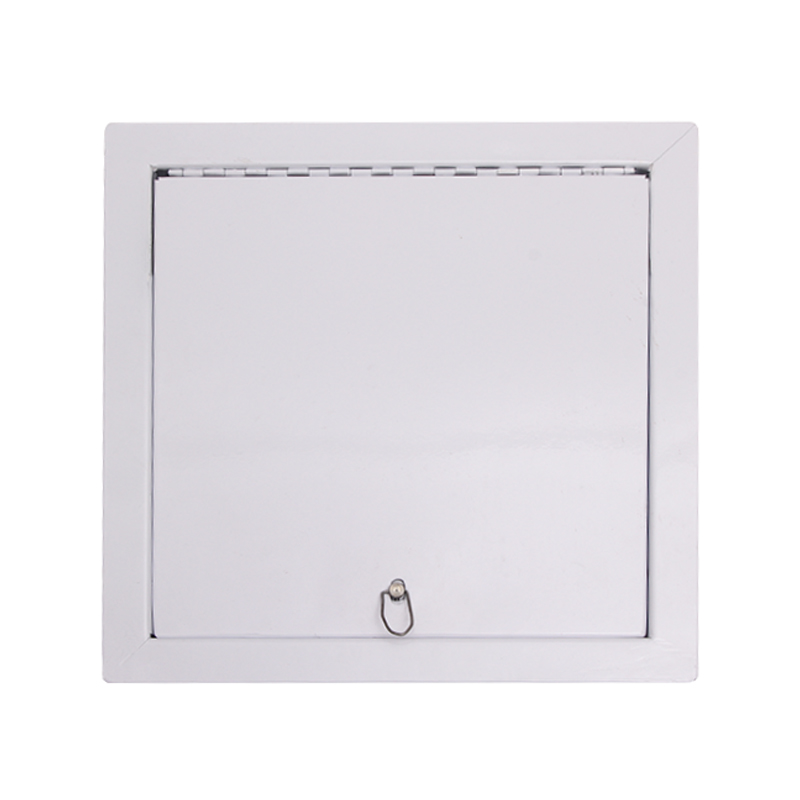
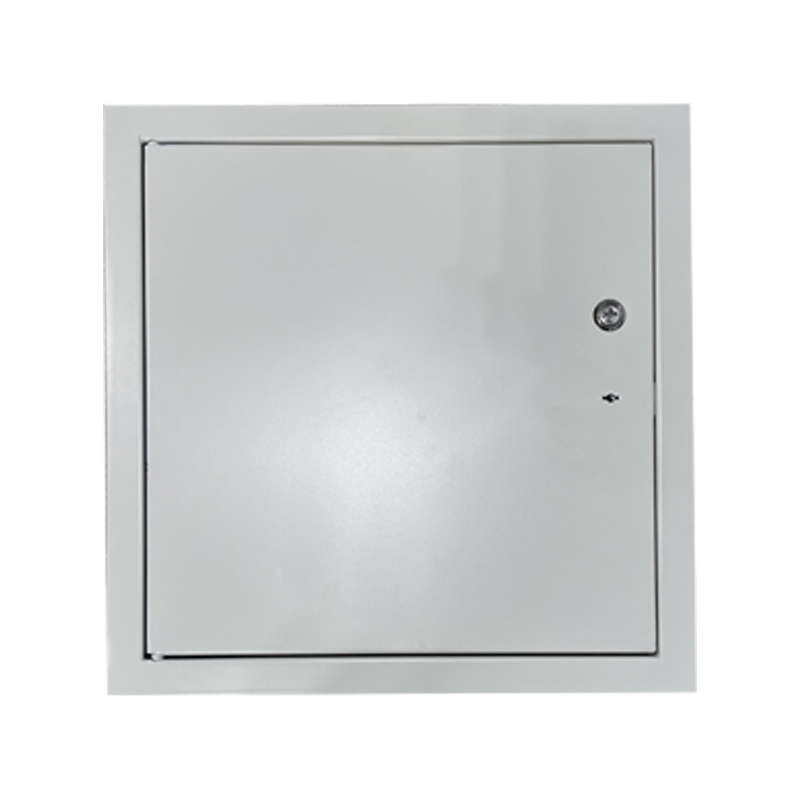
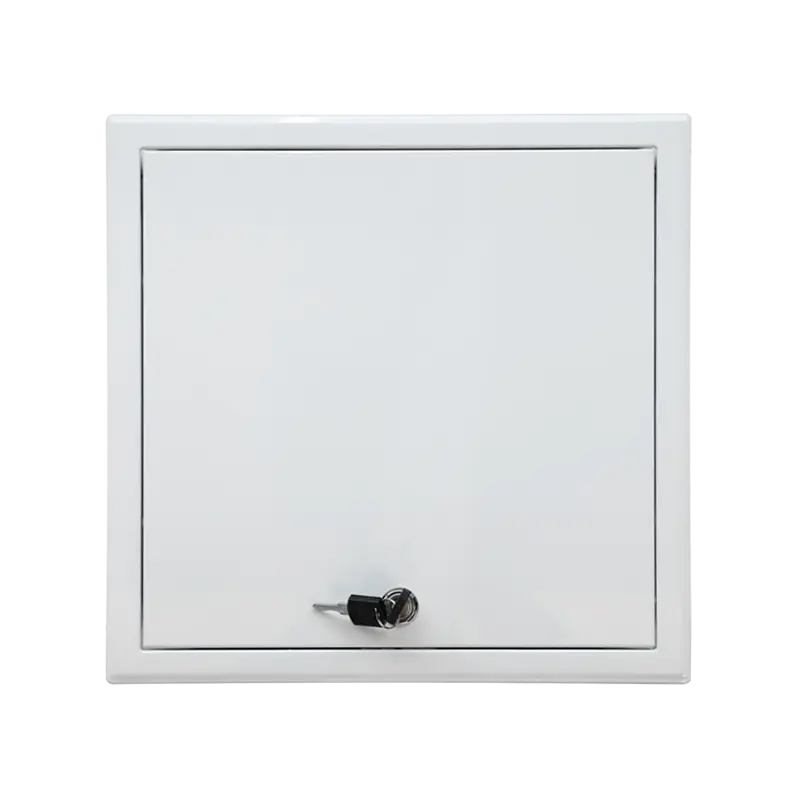
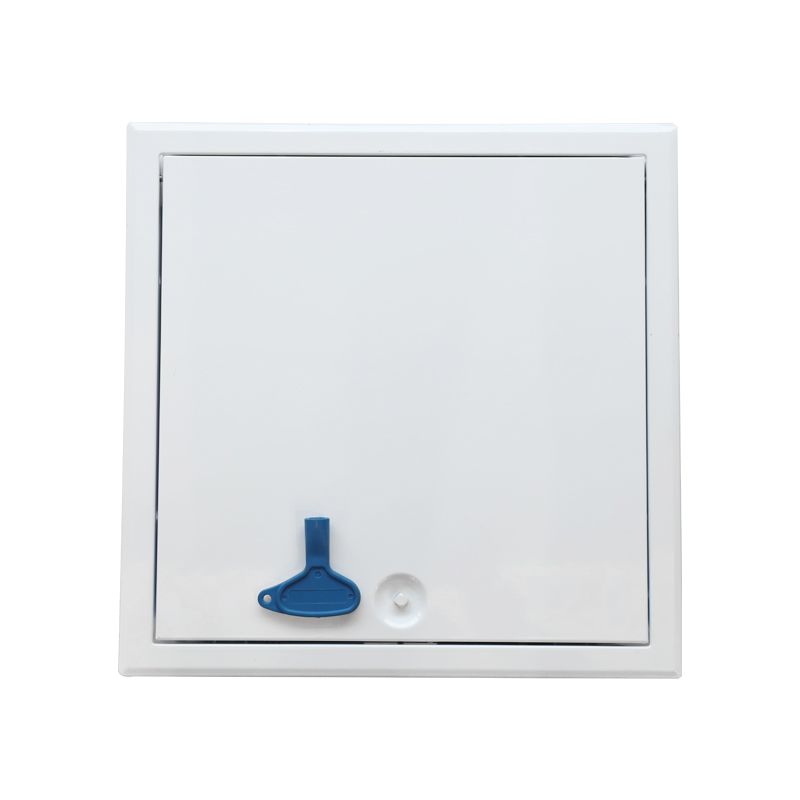
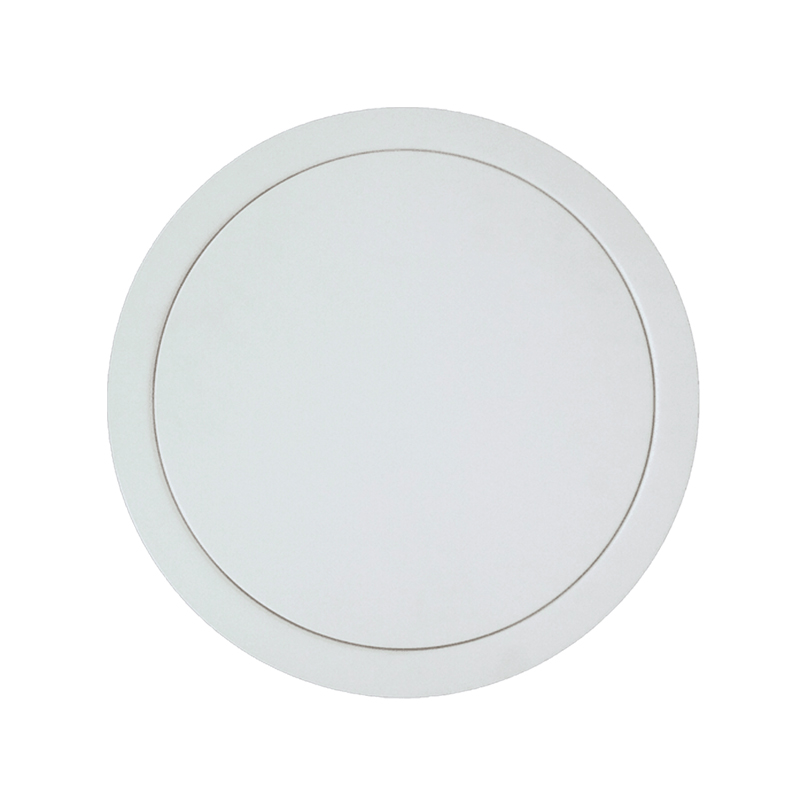
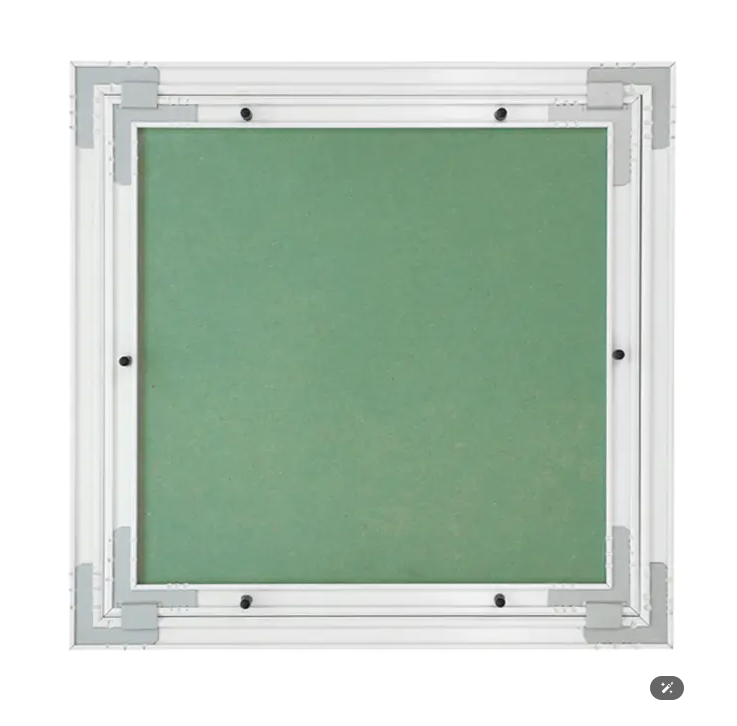
These panels are used to reach concealed plumbing, electrical, and HVAC components in residential and commercial interiors. Drywall bead frames allow the panel to be plastered flush and painted to match the surrounding wall, making them nearly invisible. Standard residential sizes include 12 × 12 in., 14 × 14 in., and 22 × 30 in. (the latter is the minimum recommended for personnel entry per most codes).
Fire-rated hatches are tested to UL 10B (positive pressure) or UL 10C (neutral pressure) standards and are assigned hourly ratings — typically 1-hour or 1.5-hour — matching the surrounding assembly. They incorporate intumescent seals that expand at elevated temperatures to prevent smoke and flame spread. Installing a non-rated panel in a fire-rated assembly is a code violation that can void the entire assembly's listing.
Used in energy-efficient buildings and cold-climate applications, these hatches feature continuous perimeter gaskets and rigid insulation cores with R-values typically ranging from R-5 to R-20. In passive house or net-zero projects, an uninsulated attic hatch can account for a disproportionate share of total heat loss — studies show that a single 22 × 30 in. uninsulated hatch can lose as much heat as a 9 sq ft uninsulated wall section.
| Type | Typical Location | Key Standard | Common Size Range | Typical Load Rating |
|---|---|---|---|---|
| Floor Hatch | Concrete / steel decks | ANSI A117.1, IBC | 24×24 in. – 96×96 in. | 300 – 2,500 lb |
| Roof Hatch | Flat / low-slope roofs | ANSI/SPRI WH-1 | 24×36 in. – 36×60 in. | Wind uplift rated |
| Wall / Ceiling Panel | Drywall / plaster | IBC 1209 | 6×6 in. – 48×48 in. | N/A (non-structural) |
| Fire-Rated Hatch | Fire-rated assemblies | UL 10B / UL 10C | 12×12 in. – 36×36 in. | 1-hr / 1.5-hr rating |
| Insulated Hatch | Attic / cold spaces | IECC, ASHRAE 90.1 | 22×30 in. – 30×54 in. | R-5 to R-20 |
Choosing the wrong hatch leads to code violations, premature failure, or inadequate access. Evaluate the following factors before specifying any product.
Floor hatches in pedestrian areas need a minimum 300 lb live load capacity. Vehicular areas require hatches rated for H-20 highway loading (up to 32,000 lb per axle). Always specify load class before size, because the structural frame depth changes significantly between ratings.
Material choice depends on the exposure environment:
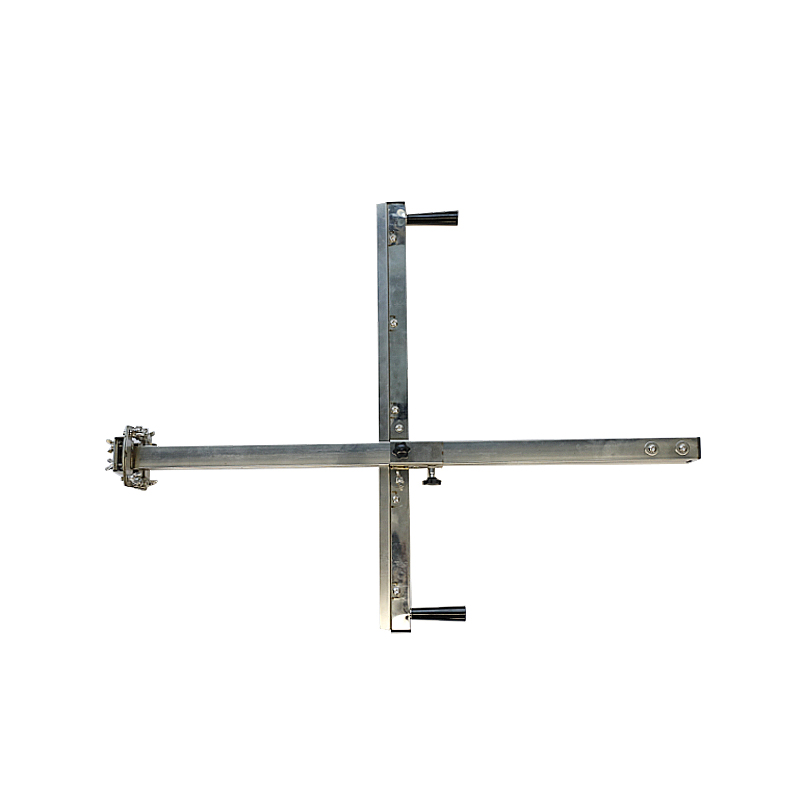
For personnel access, the clear opening (not the frame OD) must be at least 22 × 30 in. per IBC and most jurisdictional codes. Equipment access needs to be sized around the largest component that must pass through — add a minimum 4 in. of clearance on all sides of the equipment envelope. Measure the rough opening carefully; frame flanges typically add 2–4 in. per side to the nominal hatch size.
Access hatches in public or semi-public areas should feature tamper-resistant hardware. Options include keyed cylinder locks, spring-loaded slam locks, and padlock hasps. In critical infrastructure (water treatment, power substations), hatches frequently incorporate double-locking mechanisms and anti-pry edges. For roof hatches subject to egress requirements, panic hardware that opens from the inside without a key is mandatory under IBC Section 1010.
In conditioned buildings, an uninsulated hatch is a direct energy penalty. For compliance with ASHRAE 90.1-2022, attic and crawl space hatches in Climate Zones 3–8 must meet minimum insulation values that now match the surrounding assembly. Acoustic-rated hatches — with STC ratings between 35 and 52 — are specified for recording studios, medical facilities, and server rooms where sound isolation is critical.
Even a well-specified hatch will fail prematurely or create safety hazards if incorrectly installed. Follow these guidelines for reliable long-term performance.
The rough opening must be square and plumb to within 1/8 in. over 4 ft. Concrete curbs for floor hatches should cure for a minimum of 28 days before the frame is set, or use non-shrink grout to fill gaps. For roof hatches, the curb height must be a minimum of 8 in. above the finished roofing surface per NRCA guidelines to prevent water intrusion.
Anchor bolts or weld plates must be sized to transfer the design loads into the surrounding structure. A common error is anchoring floor hatch frames to non-structural topping slabs rather than the structural slab beneath — this can result in frame settlement or rotation under load. For masonry applications, use stainless steel or hot-dipped galvanized anchors to prevent galvanic corrosion at the connection point.
The most frequent cause of roof hatch leaks is improper integration with the roofing membrane rather than a defective hatch. The membrane should lap up and over the curb per the roofing manufacturer's requirements — typically a minimum 6 in. vertical leg. Apply flashing tape to all corners and seams. Never rely solely on caulk to seal the curb-to-deck joint.
After installation, test every operational component:
Access hatches are often overlooked during routine building maintenance, which leads to seized hinges, corroded frames, and compromised gaskets — all discovered at the worst possible moment. A structured inspection program prevents emergency failures.
Replace a hatch when: the frame shows through-corrosion or structural deformation; the door no longer closes flush after hardware adjustment; the fire-rating label is missing or illegible (the assembly loses its UL listing); or the hatch predates current code requirements for your occupancy. The replacement cost of a standard commercial hatch — typically $200–$1,500 depending on type and size — is far less than the liability exposure of a non-compliant or failed unit.
Experienced contractors and facility managers still encounter the same recurring errors. Knowing them in advance prevents costly rework.
In residential construction, the most critical hatch locations are the attic (minimum 22 × 30 in. clear opening per IRC R807.1), crawl space (minimum 18 × 24 in. per IRC R408.4), and bath or kitchen access panels behind plumbing valves. Insulated attic hatches with an R-value matching the surrounding insulation reduce heat loss and are increasingly mandated by energy codes in Climate Zones 4 and above.
Larger buildings rely on a coordinated matrix of hatches planned during the design phase. Mechanical engineers typically specify hatch locations on reflected ceiling plans and floor plans as part of the contract documents. A mid-sized hospital, for example, may contain over 200 individual access panels serving plumbing, medical gas, electrical, and HVAC systems — each selected to match the performance requirements of its surrounding assembly.
Wastewater treatment plants, power stations, and tunnels use heavy-duty floor hatches built to withstand constant foot traffic, chemical exposure, and occasionally vehicular loads. Recessed drain channels around the frame prevent water infiltration. In confined-space-entry (CSE) scenarios regulated by OSHA 1910.146, the hatch opening dimensions and approach geometry must accommodate entry in full PPE, including self-contained breathing apparatus.
Contactus Us
SHUNSHI servitiis subsidii technici facultatem praebet ut clientes recte eligere, instituere et conservare possint.
Contact
Tel: 86-15988108762
86-572-8298792
Fax: 86-572-8298792
E-mail: [email protected]
No.281 Mingzhu Main Road, Leidian Urbs, Deqing, Huzhou, Zhejiang, China, 313219